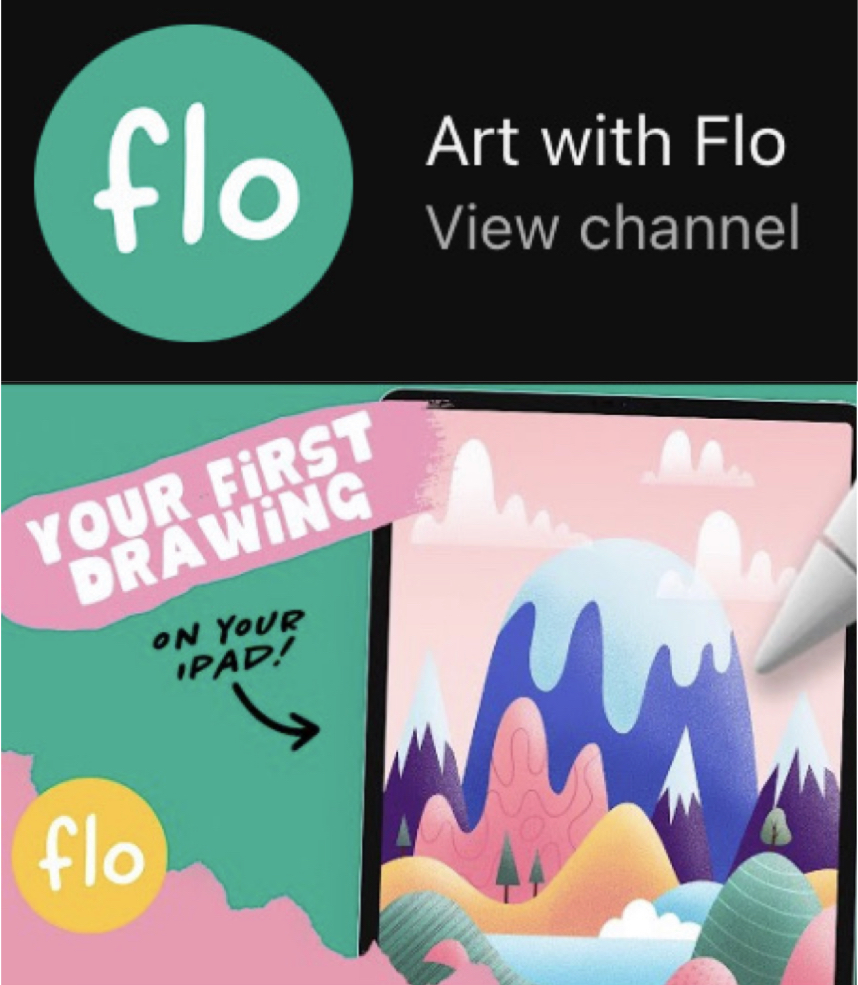
For this post I followed a tutorial by Art with Flo, but first took advantage of some introductory videos they have posted. Links to all videos discussed in this will be posted in order at the bottom of the page.
I started with an introduction video that gave a great rundown of Procreate’s features and settings, and while the video is only 26 minutes long I suggest setting aside at least 45 minutes to pause and rewind the video to practice some techniques.
A few of my favorite tips from this video include:
- Built in screen recording lets you watch the creation of your artwork in around 10 seconds
- Download the free brush pack from freefromflo.com
- In layers tab – tap “N” to change opacity
- group layers together when working on a large project with lots of layers
- alpha lock setting = only paint over objects already on the layer
- clipping mask = clips to below layer below and only allows paint on objects already on the layer (similar to alpha lock)
- Color options – harmony setting gives complimentary colours
- square between sliders (eye dropper) colour matches, drag circle that appears over colour you want on your brush and it automatically changes to it
- drag colour from top right corner over shape to fill
- Arrow tool = move/ transform objects
- S-shape ribbon = selection tool, move and adjust parts of a layer
- Magic wand = adjustments, choose one and slide pencil left to right to increase effects
- Wrench = actions, “help” is entire Procreate manual, video playback and export tools, open reference photo, drawing guide (grid, symmetry setting, etc.)
Next I watched an additional two introduction type videos on hidden features and tips which were both helpful.
Some noteworthy tips I got from these include:
- Tap and hold on a brush to pin to “recent” menu
- Two finger tap = undo, three = redo
- Quick pinch motion = full screen canvas
- Move a layer to another project or new canvas by clicking the layer then holding and dragging it into gallery
- When drawing a shape, hold pencil on canvas after you finish drawing and it will form an even shape, tap with one finger to change to perfect circle, square, or level line
Finally I felt ready to tackle a tutorial so I picked one that the artist recommended for a first time and used colours I like. It felt great to finish a piece of art that looks complicated but was fairly simple to create! It took me around an hour and 15 minutes to finish the 45-minute tutorial, but I rewound and rewatched some parts 5 or 6 times to get the hang of tricky techinques.
My main take-aways from this video were:
- How to download and import a color palette
- Practiscing alpha lock for blending and adding texture
- Using the “select” tool to create straight lines
Check out a screen-recording of my first piece of digital art!
Here are the links to all videos mentioned:
https://youtu.be/Hi-CtwX3u0w – Introduction to Procreate – Ultimate Guide Getting Started with Digital Drawing
https://youtu.be/fN5zKaGEyhk – PROCREATE Hidden Features | Procreate app shortcuts and pro tips for the ipad
https://youtu.be/AkBfjP02sx0 – 100 PROCREATE TIPS in 15 MIN
https://youtu.be/EywYPCrKYcI – PROCREATE Easy Drawing for Beginners – Step by Step Procreate Tutorial
hwhittaker
January 31, 2023 — 11:59 am
Hi Steph!
Wow! That video of your work you learned how to do was so inspiring!! My blog is also about art so I am sooo curious to learn what you’re learning because its so different.
I am wondering if headings/bold letters would be more helpful for the length of the script. I sense it would add more depth and clarity between your paragraphs.
I am sooo excited to see more art by you! Thanks for your work.